News
How to Use a Game Camera Hunters Trail Camera
Nov
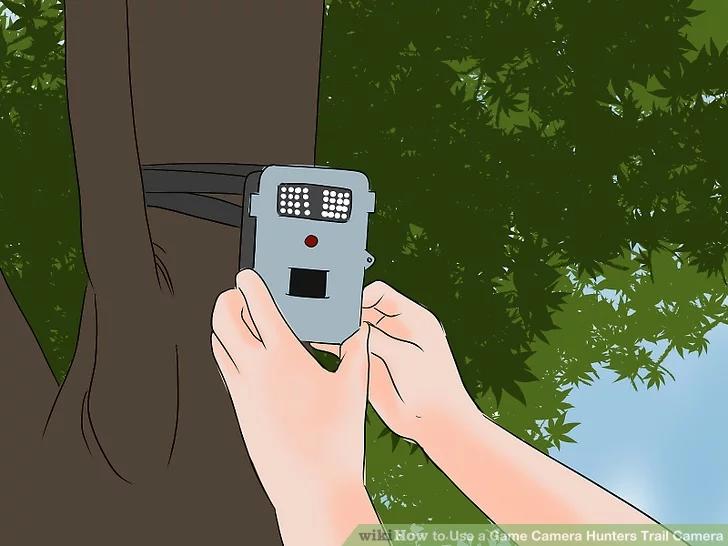
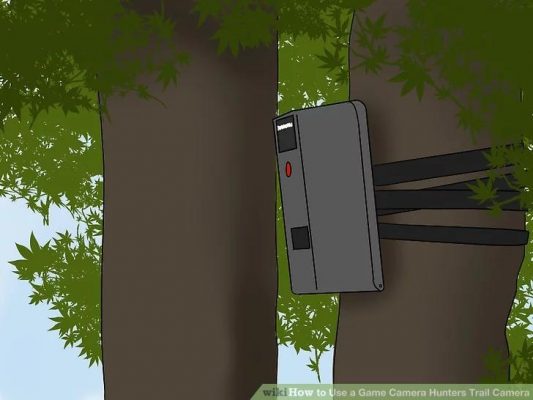
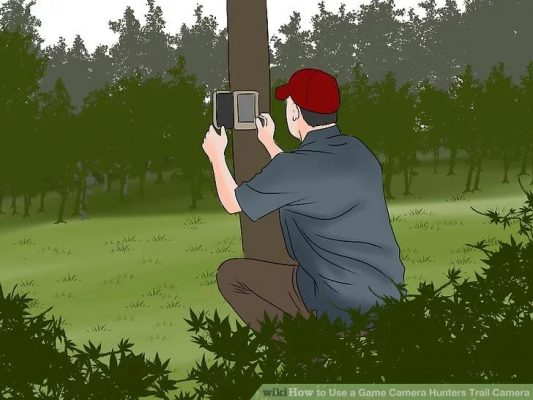
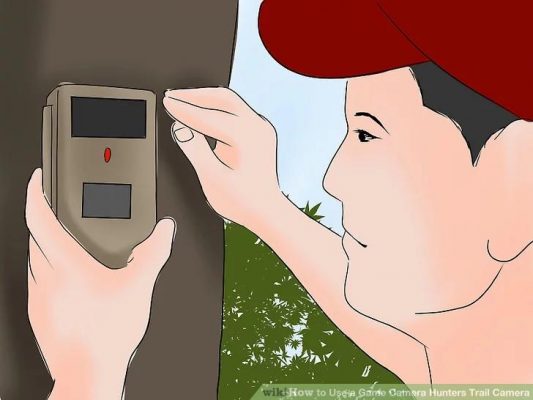
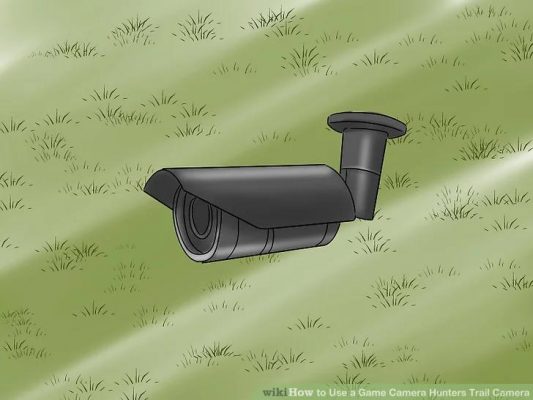
1. Use the strap that allows it to be hung from a tree (for example). Lock the included strap to lessen loss of camera, discourage theft.
- It is a rugged and weatherproof camera designed for extended outdoor use.
- Take pictures each “time-stamped” (with the date and time it was recorded).
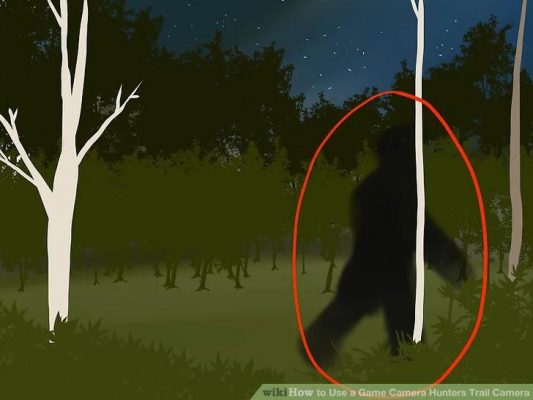
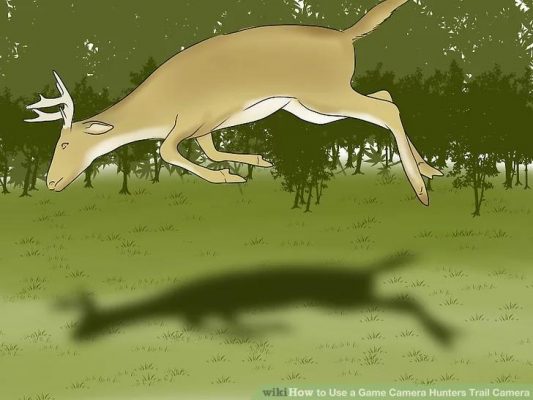
2. Use the camera for images of game-animals. It is sold for hunters for instance to record and view deer, moose or bear, etc. that have been in a clearing, pasture or on an animal/game trail.
- Use these unmanned cameras activated by motion to learn where game is located — useful for “preseason scouting”, finding good hunting locations, based on images on camera. Record images, either as a still photograph or a video.

4. Use information as a hunter to best place a deer-blind or tree-stand for example:
- In areas with limited viewing access,
- Tight spaces (such as thickets) where a person can not stay,
5. Take images from more than one camera, at chosen angles, automatically.
- Take pictures of the same moment/place, as desired.
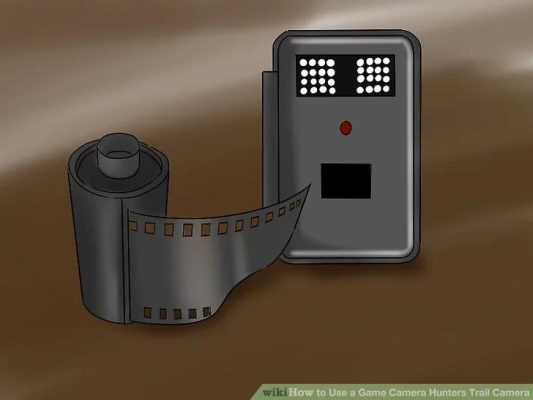
6. Choose film or digital cameras.
- Digital pictures instead of film, or
- Film to get developed, usually 35mm — instead of digital memory,
- Laser aim uses a red light beam to focus at a location to take the image,
- Strobe flash (incandescent flash) that will reach out to 15 feet (4.6 m) for nighttime images.
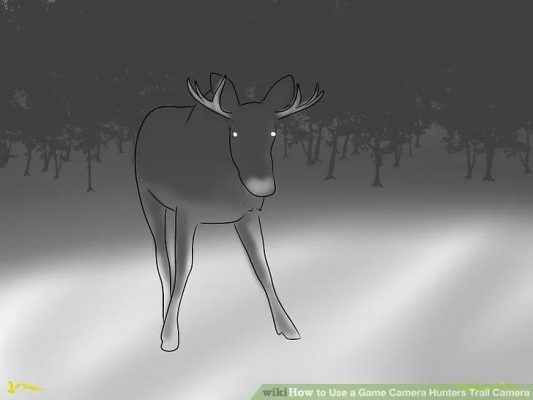
7. Get stealth, night-view images with infrared (IR), sometimes available alone or in addition to strobe flash in the same camera,
- Sound producing can send out “game calls or sounds to attract” any of a wide choice of animals, with sounding intervals adjustable from 1 to 24 hours.
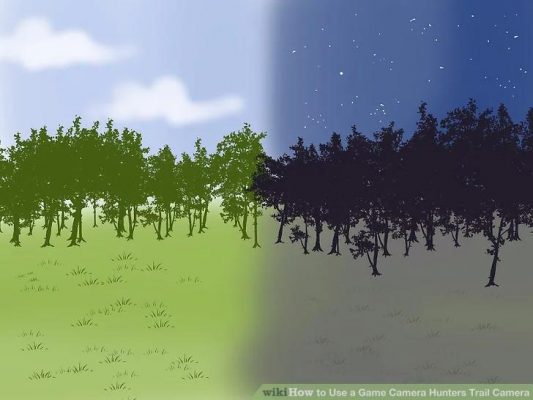
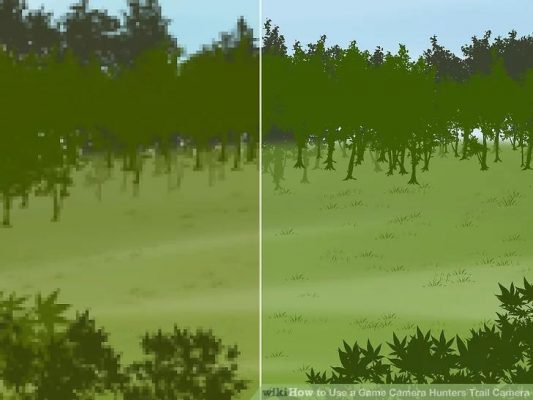
8. Decide on how the camera will be set up, regarding timing as a new photo can, perhaps, be taken each/every 30 seconds for as long as the motion (or sensing heat) events are detected. Some game cameras give choices of settings for regular flash or stealthy LED (IR) flash.
- LED (Infrared) flash allows you to image game at night without visible flash. So, flash does not give away the camera position to others observing the different hunting areas. Some models have a manual switch to set an infrared imaging (filter) to day or night mode.
1. Consider “strobe” pros (+)/advantages:
- Long range flash — to 60+ feet;
- High quality color images day and night — eases animal identification;
- Freezes animal movement — no nighttime motion blur;

2. Consider “strobe” cons (-)/disadvantages:
- Strobe may scare away animals ,
- Flash may be seen by other hunters,
- Can not record nighttime videos,
- Lower battery life on strobe than IR.
3. Consider IR pros (+)/advantages:
- Less likely to alarm animals (no visible light);
- Not so likely seen/swiped by other hunters scouting area,
- Battery life of cameras better than strobe.
4. Consider cons (-)/disadvantages of IR cameras
- Black and white of night images — less detailed clarity;
- Infrared flash quality/range con: If infrared flash is for “maximum range”, then images may be faded, to “white” or blurred.
- If the Infrared flash is set for “best image quality”, then “range is lessened”.